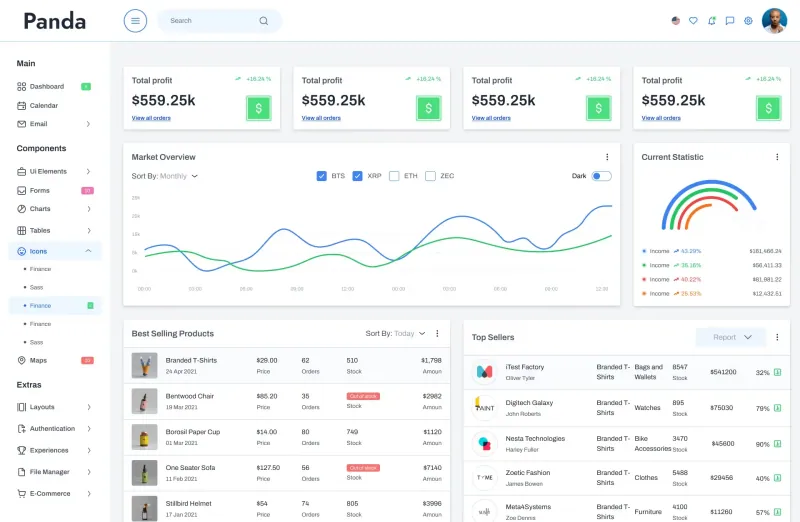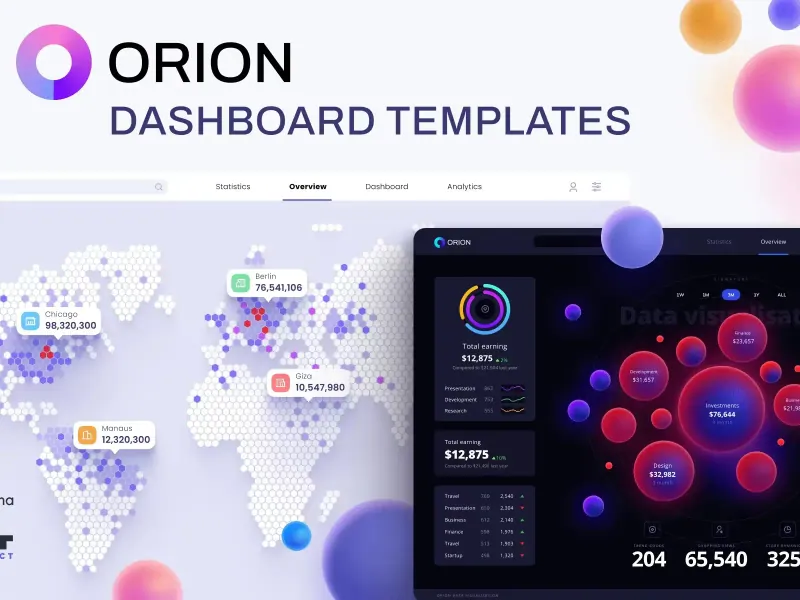
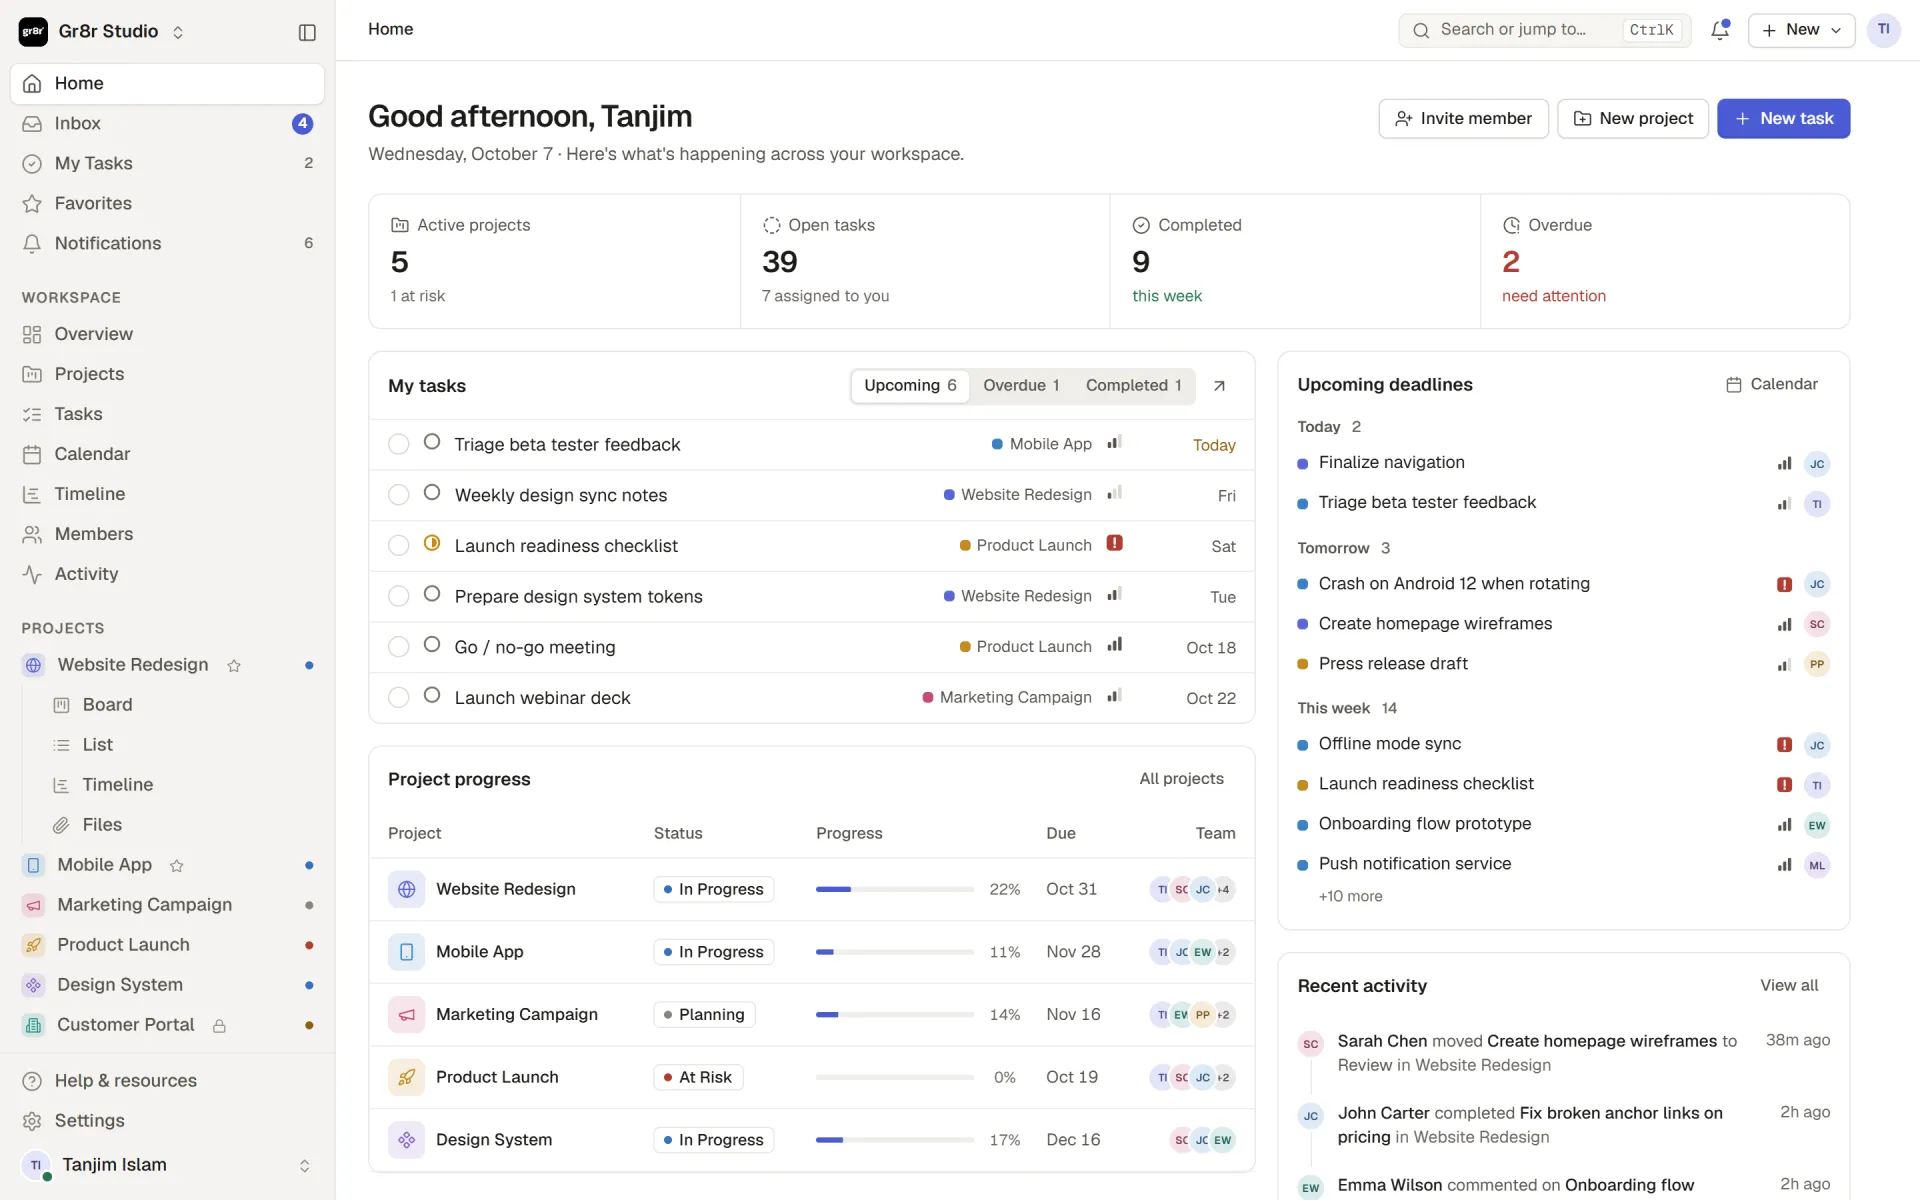

You open a project tool and the first thing it asks for is a decision. Pick a plan, then pick a template. Gr8r Studio skips that part. It is a workspace where the dashboard, the inbox and the task list already exist, built from plain JavaScript and CSS, and it runs with no UI framework underneath.
What Gr8r Studio actually does
Gr8r Studio is a project management workspace. It ships with a home dashboard, an inbox, a my tasks screen, a projects area, member and team management, an activity feed and a settings page. Each project opens in one of six views: board, list, table, calendar, timeline or files. You pick the view that matches the question you are asking, and the same task data appears in all of them.
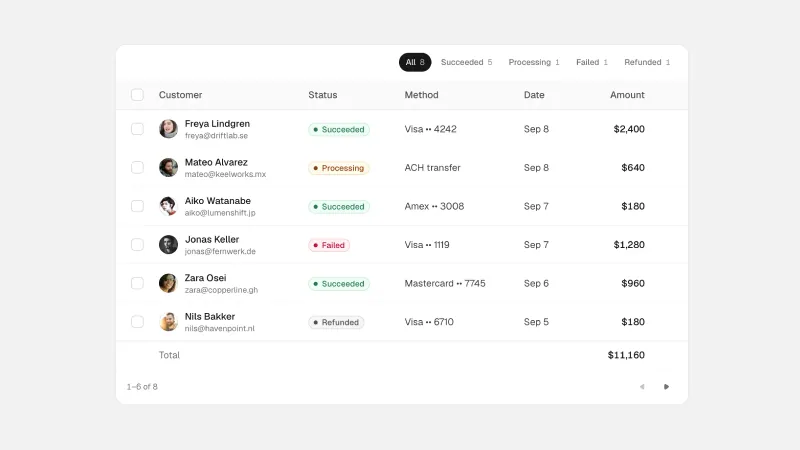
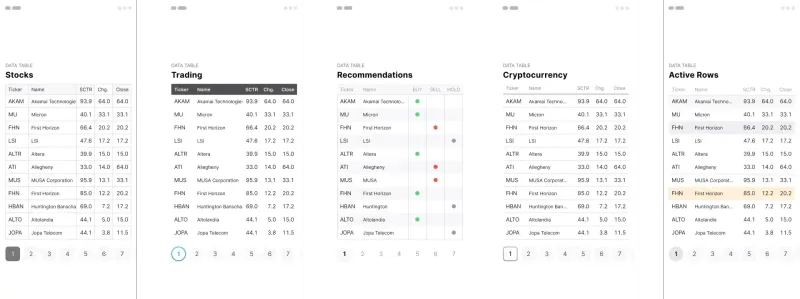
The live demo runs the whole thing on seeded data. Nothing is stubbed behind a paywall, so you can open a board, drag a card, read the task drawer and switch the same project to a timeline before you install anything. If your work leans on tables, the layout notes in our data table UI design guide cover where dense rows usually break.
Why project apps feel heavy before they feel useful
Most project tools load a framework, a component library and a state layer before the first task renders. That weight buys consistency across a large team, and it costs startup time on every open. For a solo builder or a small crew, the trade rarely pays off.
Gr8r Studio takes the other route. There is no framework to boot and no runtime dependency to download, so the browser receives HTML and CSS and draws them. The interface behaves the same on a fast laptop and on a mid-range phone, because there is less machinery waiting to run.
The trade is real, and worth naming. You give up the ready component library that a framework would hand you, and you write the markup yourself. In exchange you can read every file, change any view without fighting a build system, and keep the whole page small.
How it works under the hood
The code is organized in layers, and dependencies only point downward. The rule is stated in the README and it shapes everything else:
core/anddata/depend on nothing else in the appui/,shell/,components/,pages/,views/,overlays/andfeatures/render HTML from stateactions/change state and re-render, and each action module registers itself on a shared action table when it loads
Rendering works one way. Each page or view is a function that returns an HTML string built from the store, which the code calls S. A single render() call rebuilds the shell and restores focus and scroll positions, so swapping a view does not throw the reader back to the top of the page. That detail is the difference between a tool people keep open and one they close after a minute.
Interactions work through attributes rather than listeners scattered across every component. An element declares data-a="actionName", and one events module delegates the click to the matching action. Inputs carry data-in, and blur handlers carry data-blur. Layout follows the same discipline. Every page edge uses var(--gutter), so the breadcrumb, the header and the list start on one line instead of drifting a few pixels apart.
What ships in the workspace
The screens cover what a small team opens on a normal day:
- ❶ A home dashboard with the state of current work
- ❷ An inbox for what arrived since the last visit
- ❸ A my tasks screen, filtered to the person looking
- ❹ A projects area, each project carrying its own views
- ❺ Members, teams and an activity feed
- ❻ A settings page for the workspace itself
Every project renders through six views, all reading the same task data:
- ❶
boardfor moving work across columns - ❷
listfor a compact scan of the whole project - ❸
tablewhen you need columns you can compare side by side - ❹
calendarfor dates, andtimelinefor sequence and duration - ❺
filesfor what people attached along the way
Overlays come in the package too. There is a task drawer, modals, popovers, a context menu and a command palette. The palette is the piece worth testing first, and if you want to compare it with other implementations, the breakdown in our command palette UI design guide covers the keyboard patterns they share.
The sample workspace lives in src/data/seed.js. Replace that file and every screen reads your own data, because the render layer draws from the same store. For a dashboard built on the same principle, our dashboard UI design guide covers the layout choices that keep a dense screen readable.
No framework, no runtime dependency
The install path is the one every Vite project uses. Clone the repository, run npm install, then run npm run dev. The dev server starts on localhost:5173 with hot reload, so a change to a stylesheet or a page module appears without a manual refresh.
Node 18 or newer is the floor, and the .nvmrc file pins version 22 for anyone using nvm. For a production build, npm run build writes the output to dist/, and npm run preview serves that build locally so you can check it before it goes anywhere.
Quality checks live in the same file. npm run lint runs ESLint, and npm run format runs Prettier. Continuous integration repeats both on every push and pull request, alongside a production build, so an unformatted file fails before it reaches a deploy. If you are assembling a stack where every piece earns its place, the breakdown in our solo founder tech stack follows the same reasoning.
Opening the live demo
The fastest way to judge a workspace is to use it. The demo runs at gr8r-taskmanagement.vercel.app, and it is the same build the repository produces. Open a project, switch it between a board and a table, pull up a task drawer, then drive the command palette from the keyboard.
Keyboard access is worth testing on purpose. The WCAG guidance on keyboard access treats it as a baseline requirement, which is why a palette and shortcuts matter more than they look in a demo. The source sits on GitHub, so you can read a file, trace a view and see how a screen becomes HTML.
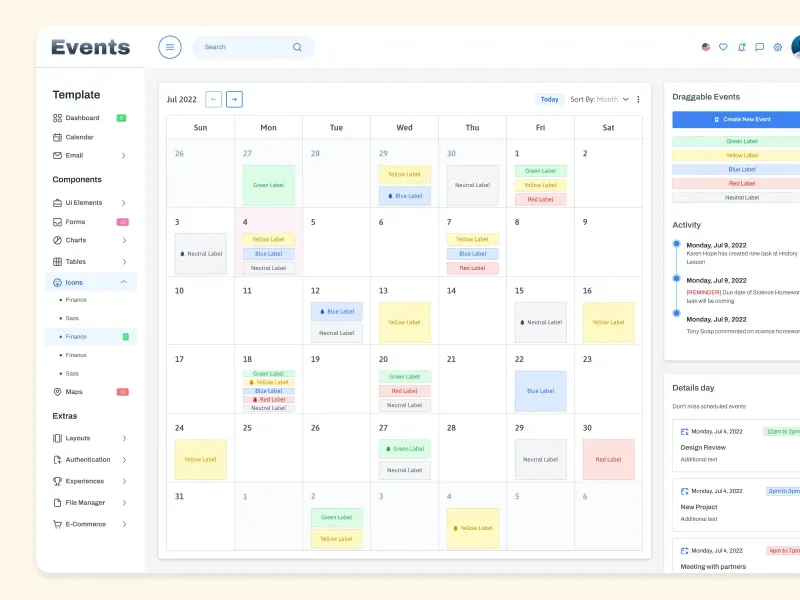
Deploy is covered as well. The repository includes a vercel.json that builds with Vite and serves the finished dist/ folder, so pushing the project to Vercel produces a working site without extra configuration. A calendar view is the next thing to study once you have your own data in, and the patterns in our calendar UI design guide translate directly to that screen.
Frequently asked questions
How do I run Gr8r Studio locally?
Clone the repository, run npm install, then run npm run dev. The dev server opens on localhost:5173 with hot reload enabled. No global CLI and no build step is needed before the first run.
Do I need React or another framework?
No. The app is written in plain JavaScript ES modules with no UI framework and no runtime dependency. Vite handles the bundling. If you know JavaScript and CSS, you can read every file in the project.
Which Node version does it require?
Node 18 or newer. The .nvmrc file pins 22, so running nvm use inside the project folder picks the intended version automatically.
Where do I replace the demo data?
The sample workspace comes from src/data/seed.js. Swap that file for your own data and the dashboard, the inbox and every project view read from it, because the render layer draws from the same store.
Which project views come with it?
Six. Board, list, table, calendar, timeline and files. Each one renders the same project tasks, so switching a view never loses work or resets your place.
Can I use it in a commercial project?
The source is public on GitHub. The README does not name a license, so check the repository for the current terms before you ship it inside a paid product.
Why it belongs in your stack
A workspace you can read end to end is rare. Gr8r Studio hands you the screens a small team opens every day, six ways to look at a project, and a codebase with nothing standing between you and the browser. You clone it, you run it, you replace the seed data, and it becomes yours to shape.
For a solo builder, the useful part is the starting line. Instead of wiring a board, a calendar and a member list before reaching the actual idea, you begin with a workspace that already holds them. When you want the marketing site around that product to look deliberate, our free code resources and design and code kits are built for the same ship-it-yourself workflow.

.webp)